
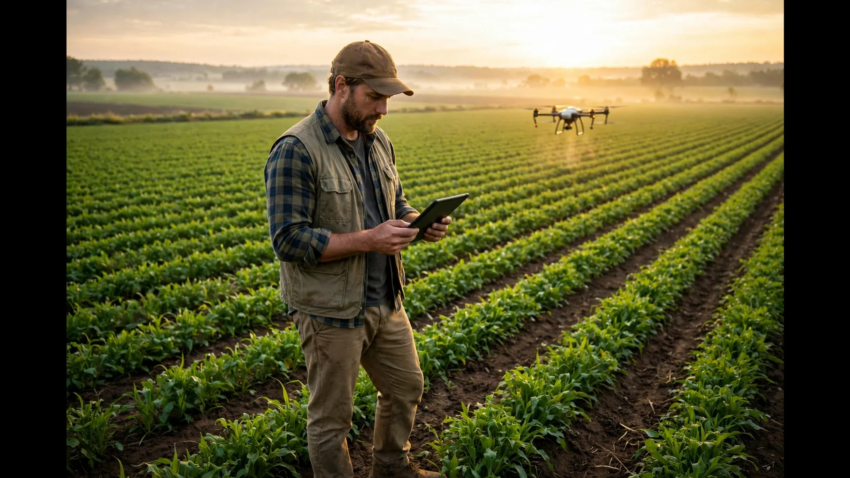
How to Adopt Digital Farming Practices
Digital farming sounds like something only giant corporate farms can afford. Drones, satellites, sensors, AI dashboards — it feels like a different world from a normal farm. But adopting digital farming practices is not an all-or-nothing jump. Most farmers who succeed with it start small, with one field, one tool and one problem they want to solve.
This guide walks through how to adopt digital farming practices step by step, in an order that keeps costs low and mistakes cheap. You do not need to be a tech expert. You need a clear reason, a simple plan and the patience to build one habit at a time.
Start With One Problem, Not Ten Tools
The most common mistake is buying technology before knowing what it should fix. Digital tools are good at specific jobs — spotting stress in a crop early, watering only where the soil is dry, or predicting which week a pest outbreak is likely. They are not magic, and a tool bought without a purpose usually ends up unused.
Pick your single most expensive problem first. Is it water wasted on fields that did not need irrigation? Fertilizer spread evenly on soil that varies a lot from corner to corner? A disease you always notice a week too late? Write that problem down. Every tool you consider from here gets one test — does it help with this problem, in a way you can measure?
Farmers who already grow with how to integrate technology with traditional farming in mind tend to follow the same pattern — they digitize the decision that costs them the most money, and only expand once that first decision clearly improves.
Step 1 – Map Your Farm Digitally
Before any sensor or app earns its place, your farm needs a digital map. This is simpler than it sounds. Free satellite tools and farm apps let you draw your field boundaries on a map, record which crop grows where, and note soil type, slope and water sources for each plot.
A field map becomes the base layer for everything else. Weather alerts become field-specific instead of generic. Satellite images can be compared field by field. When you later add soil data or yield records, they attach to the right place instead of living in a notebook you have to flip through.
Spend a week on this step. Walk your fields with your phone, confirm the boundaries, and add the details you already know from experience. That local knowledge, written into the map, is what makes the technology useful instead of generic.
Step 2 – Add Weather and Satellite Monitoring
The cheapest digital upgrade is information you currently guess at. Local weather stations and forecasting apps built for agriculture give rainfall, humidity, wind and frost warnings for your exact location, not the nearest city. Many are free or cost less than a single bag of fertilizer per season.
Satellite monitoring is the second layer. Services using satellite imagery show vegetation health maps — usually through an index called NDVI — that reveal stressed areas of a field days before the stress is visible to your eyes from the ground. Instead of walking every row, you walk straight to the red patch on the map and check what is wrong while it is still fixable.
Together, weather plus satellite images change scouting from routine wandering into targeted checking. That alone saves fuel, time and, often, a chunk of the crop.

Step 3 – Put Sensors Where Decisions Happen
Sensors come next, and only where a real decision depends on them. Soil moisture probes are the classic first purchase — they answer the daily question “should I irrigate today, and how much?” with data instead of habit. One probe per soil type or irrigation zone is enough to start.
Other common sensors track temperature and humidity inside the crop canopy (useful for disease warning), water levels in tanks and channels, and nutrient levels in the soil. The rule stays the same — a sensor is worth buying only if its reading changes what you do. Data you never act on is decoration.
This is also where intelligent automation starts to appear on farms — a moisture reading that automatically opens a valve is the same idea factories use, just pointed at a field instead of a production line.
Step 4 – Keep Records in an App, Not in Your Head
Digital farming runs on records. Which field got which seed variety, on what date, with how much fertilizer, and what it finally yielded — written down consistently, this history becomes the most valuable asset on the farm. After two or three seasons, you can answer questions that memory alone always gets wrong, like which variety truly performs best on your driest field.
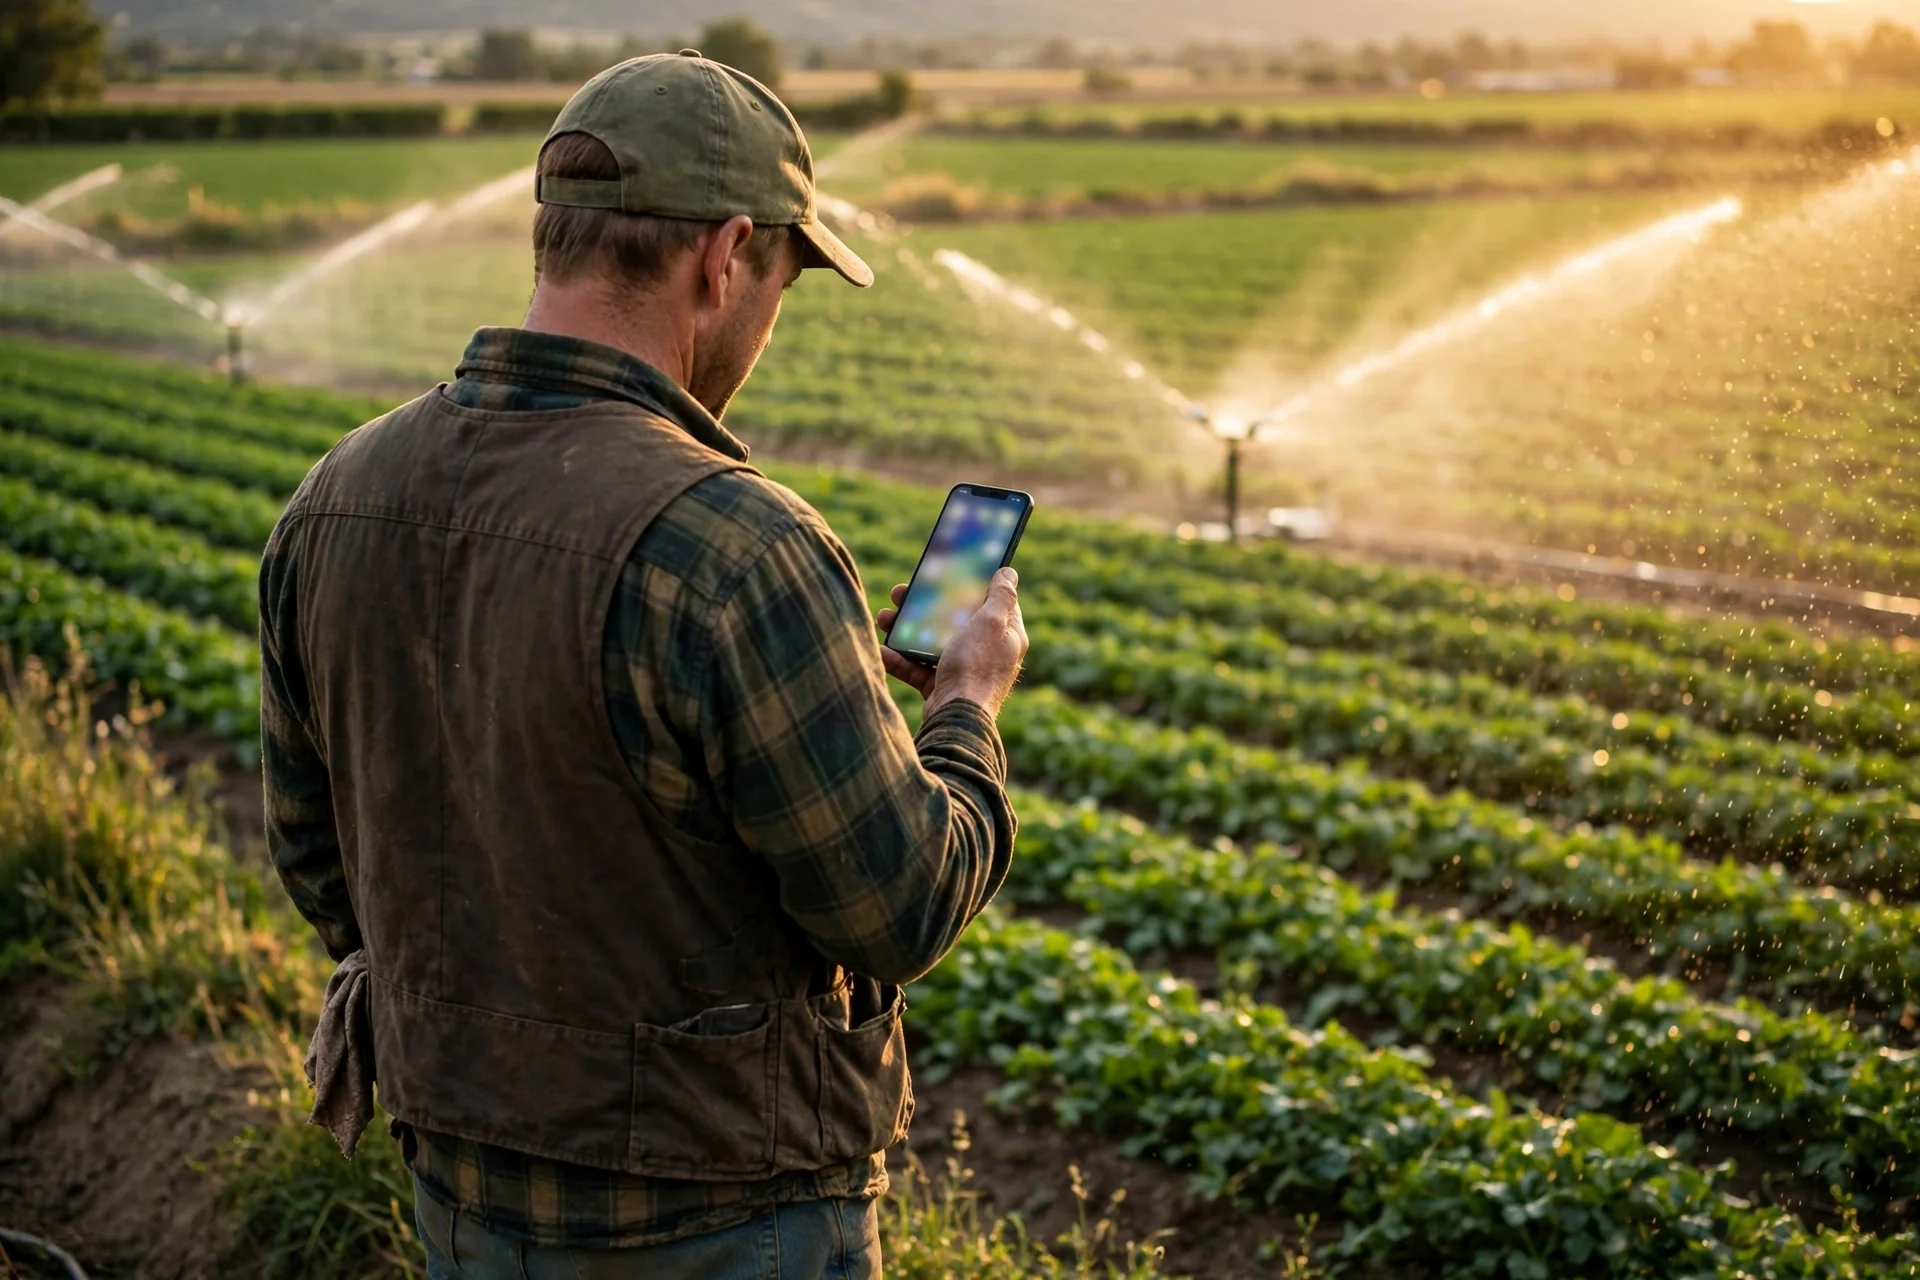
Farm management apps handle this without paperwork. You log activities from your phone in the field, attach photos, and the app builds the history for you. Start with the current season only. Do not try to reconstruct ten years of history — begin clean, and let the record grow.
Step 5 – Try One AI Tool for One Job
Once your map, monitoring and records exist, AI tools finally have something to work with. Modern farm AI can identify plant diseases from a phone photo, count plants or fruits from drone images, forecast yield from satellite history, and flag the exact spots where a crop is falling behind.
Pick one job — disease identification is the most popular first choice, because a photo and an instant answer is easy to test against your own eyes. Modern systems like Gemini Robotics 2.5 show where this is heading, toward machines that do not just advise but physically act. For now, advisory AI that you verify is the right level for most farms.
Judge the tool after one season. Did it catch something earlier than you would have? Did it save a spray, a trip, or part of a harvest? If yes, keep it and consider a second tool. If no, drop it without regret — the records and maps you built still keep their value.
Step 6 – Connect and Automate Slowly
The final stage is connecting the pieces — irrigation that starts from sensor readings, alerts that arrive before a problem peaks, reports that generate themselves at season’s end. Automation should arrive last, not first, because automating a process you do not yet understand just makes the same mistakes faster.
Move one connection at a time, and keep a manual override for everything. The farmers who get the most from digital farming are not the ones with the most technology. They are the ones where every tool answers a real question and every season’s data makes the next season smarter.
Frequently Asked Questions
Start by mapping your farm digitally and choosing one costly problem to solve first, such as water waste or late disease detection. A field map plus one clear goal keeps costs low and makes every later tool choice easier to judge.
You can start for free with satellite field maps and weather apps. The first paid steps are usually a soil moisture sensor and a farm management app subscription, which together often cost less per season than a single unnecessary fertilizer application.
Not everywhere. Most farm apps work offline in the field and sync when you are back in coverage. Sensors with local storage and satellite imagery downloaded at home also work fine on farms with patchy signal.
A weather app made for agriculture and satellite crop-health maps are the easiest starting points. They need no hardware, cost little or nothing, and immediately improve decisions about irrigation, spraying and scouting.
Better irrigation and scouting decisions usually show results within the first season. The bigger gains build over two to three seasons, as your field records grow and you can compare varieties, inputs and yields with real data instead of memory.
Small farms benefit a lot, because the core tools — maps, weather, satellite images, phone-based disease ID — cost the same regardless of farm size and often matter more where every input is a big share of the budget.

Hamad Arshad writes and edits AI Next Top from Rahim Yar Khan, Pakistan. He has worked in SEO and digital marketing for over 7 years and started this site to explain AI tools and news in plain language for non-technical readers. Every guide here is checked against the real tool before it is published.







Leave a Reply